

I love to buy tags and tape it down to my gifts, said no creative ever! If you are like me, and love making gift wrapping and party cards unique, then you are going to love this tutorial. In it, I am going to teach you how to make unique watercolor gift tags and cards for any occasion.
MATERIALS
- Watercolor paints
- Cup of water
- Wash brush
- Watercolor paper 140 lb. Cold press
- Hole punch
- Jute cord
- Ruler
- Printer

After you have all your supplies, the only thing that you need to know about watercolors is the wet in wet technique. This technique is super easy, all you have to do is wet the paper with plain water, and then while it still wet, add the paint on the paper with a damp brush. I recommend this technique because when you print the cards and/or tags you want the letters to pop.
Now that you are equipped with everything you need, the steps to create these unique beautiful tags + cards are easy breezy and may I add, super fun. Let's get started!
STEP #1 WET THE PAPER
Wet the paper with plain water using a clean brush, this step is super important because it will create a very light wash when you add the paint. You can wet the entire paper or by sections as you paint, if you decide to wet the entire paper, you may have to rewet it.

STEP #2 ADD THE PAINT
With the paper still wet and with a damped brush, add the paint with the color of your choice. As you go through the paper, you will notice that the more you add water, the more light the color will be. I played with the colors, creating sections with a more intense color and sections with a lighter color to create variation.


STEP #3 LET IT DRY
After you finish painting the paper, let it dry completely. If you get a bit impatient, start creating the template for your project on the computer.

STEP #4 PRINT IT!
After the paper has dried, print your project on the watercolor paper.

STEP #5 RIP THE PAPER
After printing, fold the paper and rip it with your hands. This will create that unique white edges that will give it that handmade look.

STEP #6 MAKE THE HOLES
- If you are creating cards or you want to tape down your gift tags, you don't need to make the holes.
- If you want to create tags that you can slide trough a cord, then you need to create two holes, they could be on the sides or top and bottom, depending on your design and how you want to place it.
- If you are creating a tag for a gift bag, then you just need to create a hole in the top of the tag.


STEP #7 ADD THE CORD
Use a jute cord, or any cord of your liking to add the strings of the gift tag. This step is optional if you are creating a card or a gift tag that will be taped down.

STEP #8 WRAP IT UP
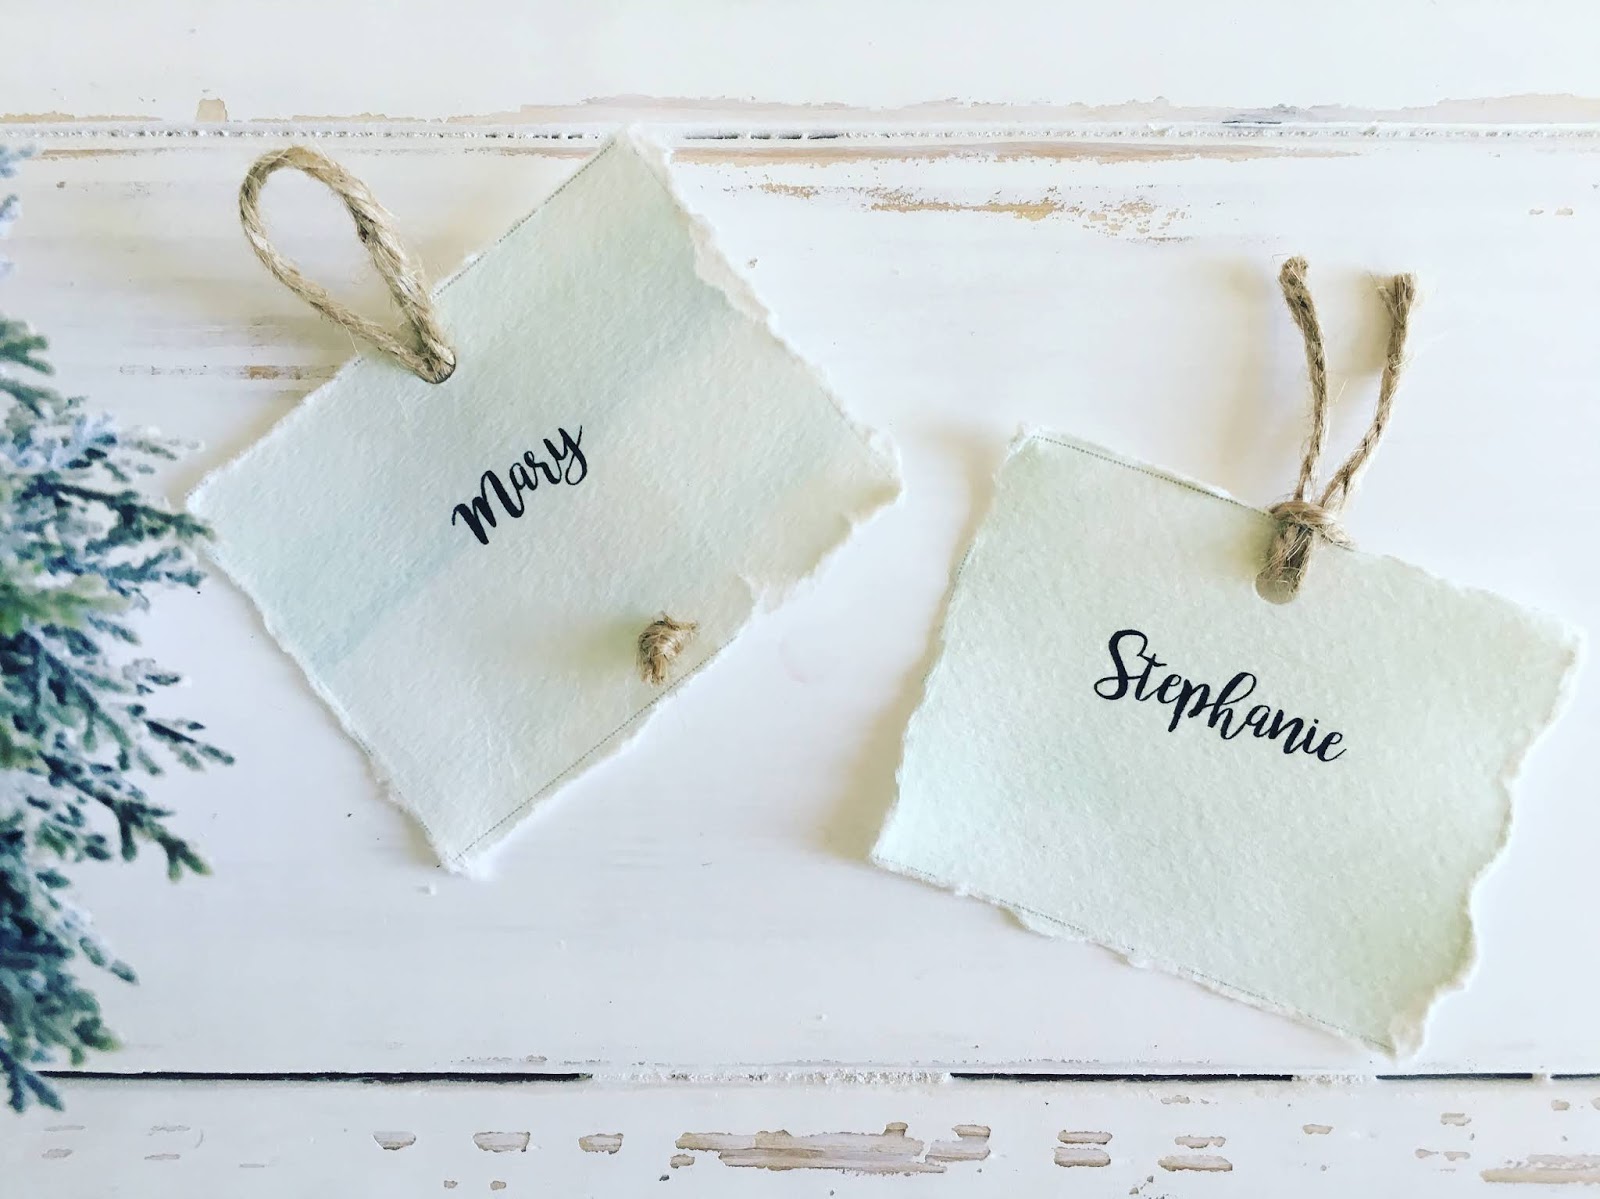
Now that you have your cards ready to go, it's time to wrap those presents! I created tags with names, others with fun tips on what to do with the presents and with inspirational messages.

FINAL IDEAS

I hope this short tutorial has inspired you to create unique projects, you can use this to make:
- Place cards for parties or weddings
- Gift tags
- Invitations
- Games
- RSVP cards
- Business Cards
The possibilities are endless, comment below with the next tutorial you want to see. Happy Creating!